Creating a workflow
By default, each queue uses one of the standard workflows that the queue owner selects when creating it. If the standard workflow in the queue doesn't suit you or you want to change its settings, you can create a new workflow or copy an existing one.
To simplify creating a workflow and avoid errors during setup, we recommend copying the workflow that's set up in the queue by default and adding the missing elements.
Creating a copy of an existing workflow
-
In the left-hand panel, click Queues and select a queue.
-
In the top right corner of the queue page, click Queue settings.
-
Go to the Workflows tab and, on the standard workflow card, click Duplicate.
If you click Edit on the standard workflow card, a copy of it is created automatically and the workflow editor opens.
-
To edit the workflow copy you created, click Edit on its card; the workflow editor opens:
-
Set up issue types and resolutions for the workflow:
Copying a workflow from a different queue
To copy a workflow from a different queue:
-
In the left-hand panel, click Queues and select a queue.
-
In the top right corner of the queue page, click Queue settings.
-
On the Workflows tab, in the upper-right corner, click Copy workflow from a different queue.
-
In the window that opens:
- Select the queue to copy the workflow from.
- Select the workflow to copy.
- Enter a name for the new workflow in your queue.
-
Click Copy.
When you copy a workflow from a different queue, the workflow diagram is transferred with all statuses, transitions, and their settings. Issue types and resolutions from the other queue aren't transferred.
Creating a new workflow
To create a workflow:
-
In the left-hand panel, click Queues and select a queue.
-
In the top right corner of the queue page, click Queue settings.
-
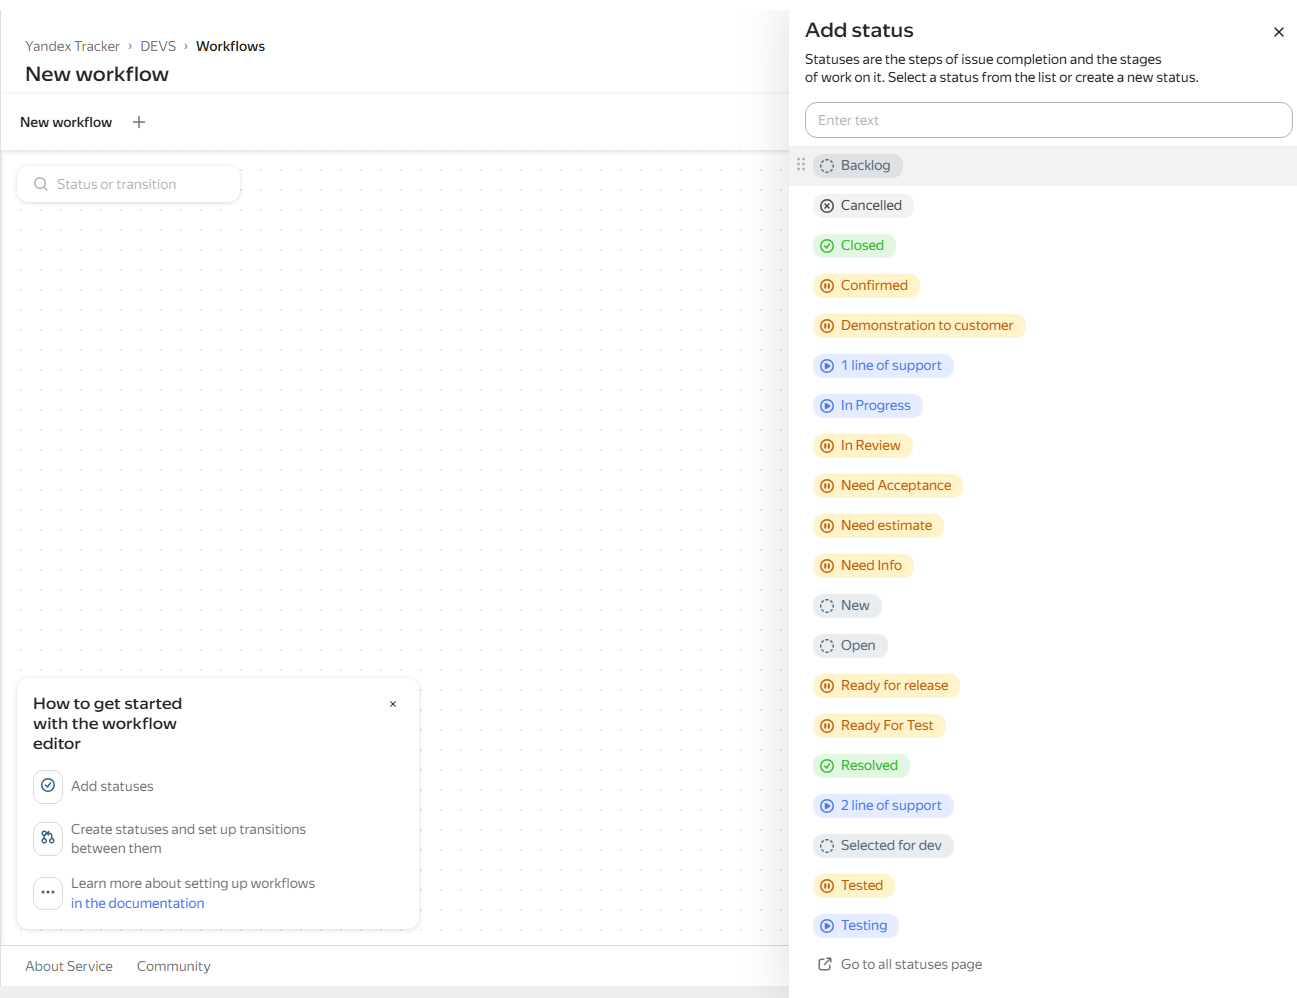
Go to the Workflows tab and click Create workflow in the upper-right corner. The workflow visual editor opens.
-
In the workflow editor, add statuses and transitions between them:
For all transitions to a final status, such as Closed, we recommend setting up a transition screen that requires filling in the resolution: How to set up a transition screen. The resolution can affect closed issue tracking and searching with filters.
-
When you finish setting up the workflow, click Save in the upper-right corner.
-
In the window that opens, add issue types and resolutions to the workflow:
- Click Add issue type, then select a type from the list.
- For each issue type, add resolutions: next to the issue type, in the Resolution column, click and select the ones you need from the list.
- Click Apply.
Deleting a workflow
You can't delete a workflow that is active for at least one issue in the queue. Before deleting a workflow, we recommend moving its issue types to a different workflow: Backward compatibility.
To delete a workflow:
-
In the left-hand panel, click Queues and select a queue.
-
In the top right corner of the queue page, click Queue settings.
-
Go to the Workflows tab.
-
From the workflow you want to delete, remove the resolutions and issue types.
-
Delete the workflow itself: on the workflow card, click .
A type is an issue parameter that helps you categorize issues by their purpose. For example: New Feature, Bug, Improvement. You can set up different workflows for different types.
A queue is a space for issues related to a single process, product, team, or department. A queue helps you store issues in one place and manage work according to common rules.
A resolution is an issue parameter that shows why an issue was closed. For example: Resolved, Won't fix, or Duplicate. You can add resolutions in the queue settings.
A workflow is a set of issue statuses and rules for transitioning between them. You can set up multiple workflows in each queue.